Pages

Wednesday, 23 May 2012

Art Class Wednesdays #1

I go to evening classes, every Wednesday at the local high school.  These are very informal classes, just a group of friends getting together to enjoy cake and cuppa really.  However, it does give us the chance to try out different techniques and to use equipment that we don't have at home.

These are some of drawings I have done whilst at these classes.

Pointillism - using the block paints quite watery, I had a go at drawing a dead leaf using the pointillist technique.  I wasn't looking forward to doing this at all, I have only every tried pointillism with a pen and find it very labourious, but using paint and a brush was much more successful and I like the idea of making a palette of colours, as I go along, as they are used.  I think this would be very useful for matching fabric and threads to develop the work into a textile piece.


Ink and Dip Pen - this is always a favourite medium to work in.  I used the ink and a scratchy dip pen to draw the poppy and shell shape, then used watery ink to add the washes.  I like how the shell and the large poppy head have turned out.


Indian Ink and Dip Pen - this time we tried Indian ink and a dip pen, which is quite nice to draw with, I like it when it blobs and the finish is quite shiny.


Mono-prints- great class today - working on mono-prints.  

I put purple printing ink onto a glass sheet and rolled it until I had a evenly covered square of ink.  I then blotted this lightly with a sheet of sugar paper.  

With a sheet of cartridge paper over the ink I drew shell shapes - firstly with a blue softish pencil, which was quite difficult to work with and I had to press on the paper really hard, then with a red Biro - which created a better print and was a lot easier to work with.


I liked the way the prints turned out, lots of inspirational images to work with.  I liked the drawings as well, so I photocopied these so that I could use these to work from as well.  The next image are my favourites that I think have worked well as drawings and prints.


Sunday, 20 May 2012

Project 2 - Stage 5

Stitches To Create Texture


I started this exercise by working with a pale green embroidery thread and tried various combinations of stitches.  The block of satin stitch squares really show the difference that the stitch direction/light can have on the colour, it gives the effect of a chequerboard.  On the leaf it gives a different shade to each side of the leaf.

French knots give a really good covering and interesting surface when close together, but are also good more spaced out.  Stem stitch is also good for filling in shapes, and gives a good surface coverage.  I tried the herringbone stitch and blanket stitch, random lengths, shapes and coverage.

I then tried different weights of threads and also couching different types of wool - knobbly chunky, slubby and eyelash.

The blocks of stem stitch gave the same effect as the satin stitch.  Two different shades from the same thread.  I also tried the same stitch with a random effect thread.  I tried the satin stitch blocks in various threads.   The block of French knots worked really well, good for shading.  I also tried the blanket stitch, over-sewed with different weights of thread - which gave a good coverage and would be good for shading.  I tried sewing with a ribbon yarn which was quite awkward, but gave a really interesting surface.  I also tried couching down thicker yarns, which effect I really like.

I then tried all sorts of different media, I used a coarse linen for the background.


Patterned tights - this gives a nice effect but I cut it too thin and it kept breaking, it might be better to couch it.
Ribbon yarn - laid flat on the fabric and caught down with tiny stitches.  I really like how this worked out, the texture and the colours.
Various ribbons - nice and chunky effect
Video tape - easy to sew with, shiny without glitter. 
Net, leather & raffia - all fairly easy to sew with and give good chunky effects
Plarn - made from a plastic bag, easy to sew with, matt finish
String - quite difficult to sew with, used stem stitch, chunky and matt.  The string defiantly sits on top of the fabric.
T-shirt yarn - I made the first one too thin, which stretched very thin when I stitched with it, so I tried again, cutting it wider, which gave good surface coverage.  
Leather strip - ruffled and stitched down with small stitches.
Couched piece of red net and some unspun wool.  I tried working some French knots over the top of the couching.  
I also tried some French knots over a piece of silver net and then over some sequin waste.

I then tried lots of these different techniques and ideas out and put them onto the mood boards for Stage 4.

Saturday, 19 May 2012

Photography #1

Lines

Lines & colours in the rocks on Anglesey


Stacked coping stones - lovely aged colours and textures

Stocked Roofing Slates

Horse shoes - waiting to be finished

Texture


Thistles - very spiky

All the beautiful colours of Welsh slate

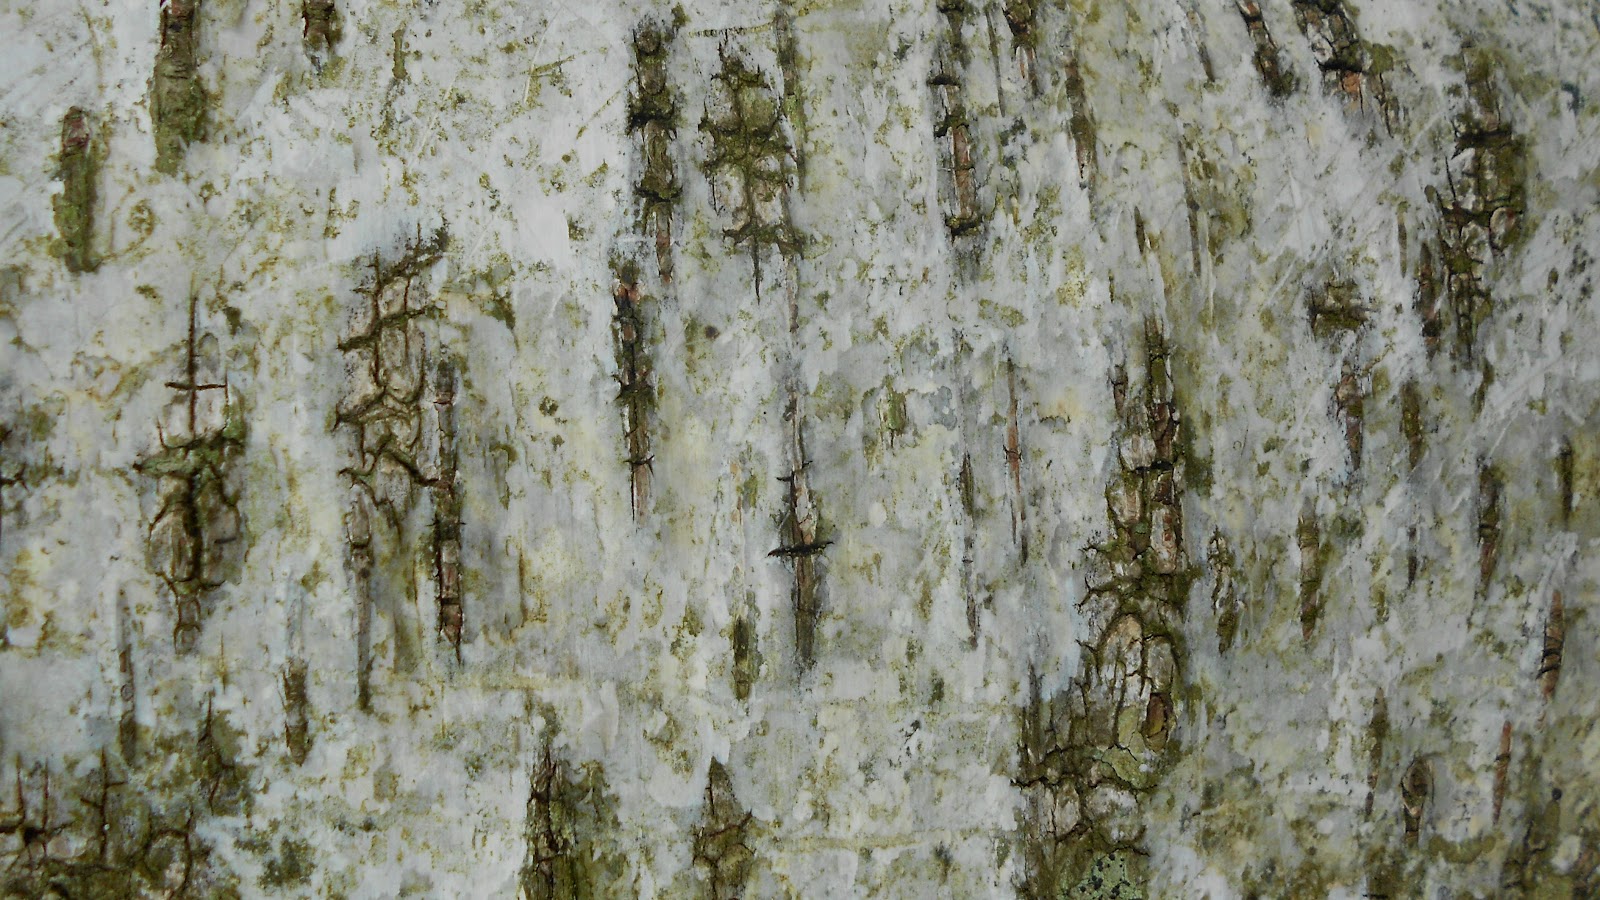
Very unusual tree bark

Thick, woolly, curly coat

Don't know what this is growing on an old fallen tree.  
Think it might develop into Turkey Tail

Horseshoe nails - very sharp

Light & Shade

Sparkler

Welsh Slate Museum


Honesty in the evening sunlight

Reflections

Prague

Key - the pink is reflected from my camera

Colours from the sunlight shining through the stained glass windows - Prague

Lake Vyrnwy

Looking Up

Fantastic lines of an old A-Frame barn


Looking Down


Looking Through


Looking Into The Distance


Contrast


Striking colour combination


 Love this orange and green

Grouping


Line of taxis in Prague 


 Beautiful decorated glass bottles - Prague


Slate fence - National Slate Muesum


Wednesday, 2 May 2012

Project 2 - Stage 4

Preparing To Create Texture
I looked back through my work and my sketchbook and chose six drawings to work from, and decided to create a small mood board for each one.


1.  The first one was an image of a piece of ceramic work covered with blue swirls.  I did a quick sketch using Derwent Inktense Pencils.  I chose some fabrics and threads.  Using the printed linen, I made a small sample using chain stitch to create the swirls.  I think this would also work well with couching.


2.  The next example was a photograph I took of a piece of bark with some kind of fungus growing on it.  I chose some brown linen to work on and selected some different weights of thread and wool.  I used the ribbon wool and couched it down onto the fabric then filled it in with some chain stitch.  I used some net and french knots in various weights of thread for the fungus.  This piece didn't work as well as I had hoped.  The couched ribbon got lost under the rows of chain stitch, and I don't think the funghus was prominent enough.  The piece was also quite delicate and I think it needed to be a lot bolder.


3.  For the third piece I used a drawing from my sketchbook of a pepper.  I like this drawing and thought it would lend itself to a simple stem stitch shading,  I chose thread based on the colours of the pencils I used in the drawing, then selected a range of fabrics and papers in the same range of colours.  When it came to working the sample I found an old striped scarf and decided to try that instead of the shading.  I crinkled it up and stitched it down using a simple running stitch.   I like the effect but it doesn't really portray the smoothness of the pepper, and although I like the effect it created I think my original idea of the stem stitch shading would have been more appropriate.


4.  The fourth image I chose to work from was a quarter of a sketch based on a gerbera.  I chose fabrics and threads then did a small sample using stem stitch as shading - using two strands of thread, mixing the two colours in between.  I then tried stitching different fabrics down, using different colours of thread.  I like this and think this would definitely work to produce a really good shaded piece.


5.  The fifth piece is based on my biro drawing of the mushroom gills.  I picked out some black, white, grey and silver thread and a range of fabrics in similar colours.  I used a piece of grey organza as a background and couched pieces of the fabric onto it.  I like how this piece has turned out, although a bit of restraint was perhaps needed.  If I was going to develop this piece I would probably just stick to using net and organza.  I would also like to try drawing the gills with batik and then work onto that.


6.  The last piece is based on my drawing of a dried orange slice.  I again chose a range of fabrics and threads based on the colours in my drawing.  I made a small sample by cutting small pieces of all the fabrics and stretching a piece of net over the top. I stitched the net down using stem stitch.  I created the edge using a random cross stitch.  I tried two different techniques on the orange flesh.  One was seed stitch and the other was rows of loose chain stitch.  I decided not to use black thread and I thought it detracted from the lovely orange colour too much.

Project 2 - Stage 3

A Sample
I chose my leaf skeleton sketch to work from.
  
I wanted to create a piece that was delicate but also gave the feeling of decay.  I chose different lightweight black fabrics (lace, net, chiffon, organza) and used a stem stitch to sew them together along the vein lines of the leaf.  I then burnt these using the heat from a candle flame. 


Then using various shades of black and grey thread I stitched the fabric to a pale brown silk background, that looked similar to my water washed colour.  I used seed stitch to fill in a few areas and burnt a few more areas and the stem.  The flame just caught the silk and has left a burn mark, which I will have to be careful about if I use this method again.


I am happy with how the piece has turned out.  On reflection however I wouldn't choose black fabric to work with, but something more washed-out; grey or brown.  I chose black because I had sketched with a black gel pen, but having looked again at the actual leaf skeleton, I think it would have been better in lighter colours. Over-stitched, soluble fabric would probably have given a good effect for the decay as well.